codex-lv3-may-2025
| Level Navigation: 1 | 2 | 3 | 4 | 5 | 6 | 7 | 8 | 9 | 10 | 11 | 12 | 13 | 14 | 15 | 16 | 17 | 18 | 19⚡ | 20 |
Level 12: Add Insert Statement
Goal: Update your form handler to insert new meals into the database.
User Story: As a user, I want my form submission to save the meal to the database so that it persists and can be retrieved later.
What You’ll Do
Update your handleAddMeal function to include the database insertion logic.
Instructions
- Update your
handleAddMealfunction to include the insert logic - Use
await supabase.from("potluck_meals").insert(newMeal)to insert the new meal - Keep all the existing form processing logic
- Test the complete flow: submit form → see data in database
💡 Code Hints
Need help with database insertion? Check out these snippets:
Show Me: updated form handler
async function handleAddMeal(event){
    event.preventDefault()
    console.log("handle add meal submitted")
    const mealName = event.target.elements.mealName.value
    const guestName = event.target.elements.guestName.value
    const serves = event.target.elements.serves.value
    const kindOfDish = event.target.elements.kindOfDish.value

    const newMeal = {
        meal_name: mealName,
        guest_name: guestName,
        serves: parseInt(serves),
        kind_of_dish: kindOfDish
    }

    console.log(newMeal)

    // Insert the new meal
    await supabase.from("potluck_meals").insert(newMeal)
}
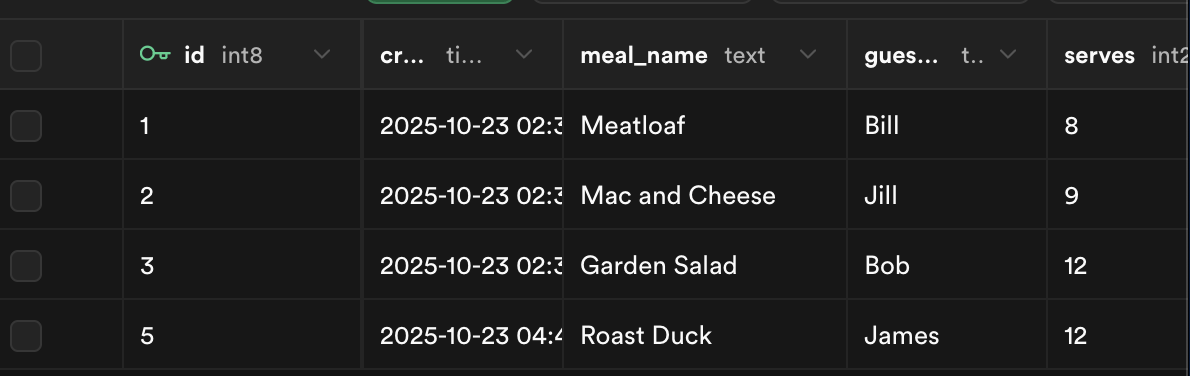
Show Me: Verify insert in Supabase
🔍 Diving Deeper
Understanding CRUD operations:
- Create:
INSERT- Adding new records to the database - Read:
SELECT- Retrieving data from the database - Update:
UPDATE- Modifying existing records - Delete:
DELETE- Removing records from the database
Database insertion explained:
await supabase.from("potluck_meals").insert(newMeal)
supabase.from("table_name"): Specifies which table to insert into.insert(data): Inserts the provided data as a new rowawait: Waits for the insertion to complete before continuing- No return value needed: We’re not using the returned data, just inserting
Exploring network requests:
To see what’s actually being sent to Supabase, open your browser’s Developer Tools:
- Open Developer Tools: Press
F12or right-click → “Inspect” - Go to Network Tab: Click on the “Network” tab
- Submit your form: Fill out and submit the form
- Look for the request: You’ll see a request to your Supabase URL
- Examine the data: Click on the request to see:
- Request Payload: The data being sent (your
newMealobject) - Response: What Supabase sends back
- Headers: Authentication and other metadata
- Request Payload: The data being sent (your
What you’ll see:
- Request URL:
https://your-project.supabase.co/rest/v1/potluck_meals - Request Method:
POST(for inserting data) - Request Payload: Your form data as JSON
- Response: Confirmation that the data was inserted
Data persistence:
- Before insert: Data only exists in your React component’s memory
- After insert: Data is permanently stored in the Supabase database
- Verification: You can check the Supabase dashboard to see the new record
- Retrieval: The data will be available even after refreshing the page
Error handling considerations:
In production apps, you’d want to handle potential errors:
const { data, error } = await supabase.from("potluck_meals").insert(newMeal)
if (error) {
    console.error('Insert failed:', error);
    // Show user-friendly error message
} else {
    console.log('Meal added successfully:', data);
    // Update UI to show success
}
Database constraints:
- Required fields: Database will reject inserts if required columns are missing
- Data types: Database will reject inserts if data types don’t match (e.g., string in integer column)
- Unique constraints: Database will reject duplicate values in unique columns
- Foreign keys: Database will reject inserts that violate relationship rules
📺 Learn More:
- MySQL - The Basics - Comprehensive SQL tutorial including INSERT
- SQL Explained in 100 Seconds - Quick SQL overview
- Supabase in 100 Seconds - Understanding the platform
✅ Check
- Fill out the form with new meal data
- Submit the form
- Check your Supabase dashboard - the new meal should appear
- No console errors occur during insertion
- The data is successfully saved to the database
📚 Vocabulary
- INSERT - SQL command that adds a new row into a table
- Database (DB) - A structured place to store and organize data
- Persistence / Persist - When data stays saved after refreshing
- Table - Collection of related data organized into rows and columns
- Row / Record - One entry in a table